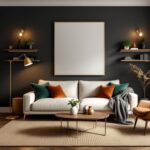

That towering blank wall in your living room isn’t just wasted square footage, it’s untapped potential. Whether you’re staring down a 12-foot expanse above the sectional or a long, narrow stretch in a hallway, the right large wall decor can anchor a room, create visual balance, and solve proportion problems that make spaces feel awkward or unfinished. But scaling up from a single framed print to statement-sized decor requires different thinking. You’ll need to consider structural support, visual weight, and installation methods that go beyond a simple picture hanger. This guide walks through proven large living room wall ideas, practical installation tips, and DIY projects that deliver impact without requiring a contractor or a second mortgage.
Key Takeaways
- Large wall decor solves proportion problems by anchoring rooms and creating visual balance—a single statement piece spanning 60–80% of furniture width appears cohesive and adds perceived ceiling height.
- Proper installation hardware is critical: pieces over 15 pounds need stud anchors or heavy-duty drywall anchors, and anything over 50 pounds requires direct fastening to wall studs with 3-inch screws or toggle bolts.
- High-contrast artwork (bold colors, black-and-white photography, geometric patterns) reads better at scale than detailed images—test potential large wall decor ideas by viewing them from 10–15 feet away.
- DIY large wall decor projects like oversized wood panels, fabric-covered foam, and stenciled murals cost $25–70 and deliver impact while offering full customization for budget-conscious decorators.
- Mirrors and reflective pieces over 30 pounds require serious hardware (mirror clips or J-channels into studs) and should be positioned opposite windows to maximize light, never mounted solely with adhesive.
- Three-dimensional wall treatments—from reclaimed wood and metal sculptures to woven textiles—cast shadows and shift with light, creating focal points that flat art alone cannot match.
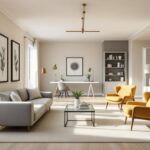
Why Large Wall Decor Makes a Major Impact
Large-scale decor solves a fundamental design problem: proportion. A cluster of small frames on a 10-foot wall creates visual clutter and makes the space feel smaller. A single piece spanning 60–80% of the furniture width below it creates cohesion and draws the eye up, adding perceived ceiling height.
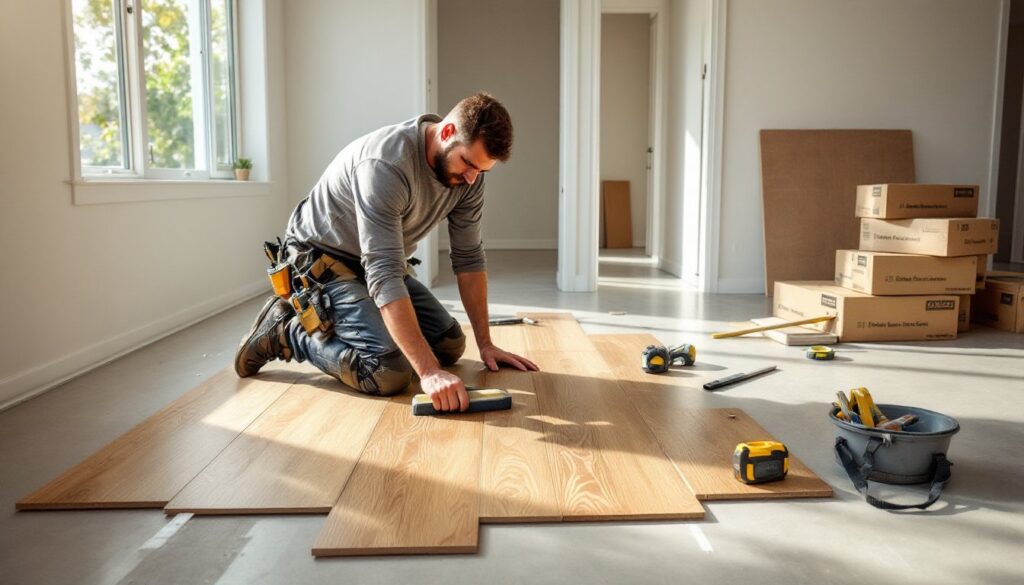
From a practical standpoint, large wall decor ideas living room projects often require different hardware than standard picture hangers. Pieces over 15 pounds typically need anchors into wall studs (located every 16 inches on-center in most residential framing) or heavy-duty drywall anchors rated for the load. Use a stud finder to locate framing before drilling. For pieces over 50 pounds or anything with significant depth (like wooden panels or metal sculpture), fasten directly to studs with 3-inch wood screws or use toggle bolts rated for the weight.
Large decor also shifts room acoustics. Hard surfaces like metal or glass reflect sound, while fabric panels, woven textiles, or wood absorb it, useful in open-plan spaces with echo issues.
Oversized Art and Canvas Prints
A single canvas print or framed piece measuring 40×60 inches or larger commands attention without competing elements. Canvas stretched over wooden frames weighs less than framed glass prints of the same size, making installation simpler. Most canvas pieces under 20 pounds can hang on two D-rings with picture wire, anchored to studs or heavy-duty hangers.
For living rooms with high ceilings (9 feet or more), consider vertical diptychs or triptychs, multi-panel pieces that draw the eye upward. Leave 2–4 inches between panels to maintain separation without losing visual continuity. Mount each panel independently on its own hardware to allow for minor wall irregularities.
Custom prints offer budget flexibility. Many online print services produce large-format prints on canvas, metal, or acrylic. Metal prints (dye-sublimation on aluminum) deliver vibrant color and resist fading, but weigh more, plan for 8–12 pounds per 40×60-inch panel. Acrylic prints add depth with a glossy, frameless look but require standoff mounts (metal posts that hold the acrylic ½–1 inch off the wall). These mounts must anchor into studs due to the cantilevered weight.
When selecting subject matter, high-contrast images (bold color blocks, black-and-white photography, abstract geometrics) read better from across the room than detailed, low-contrast scenes. Test potential images by viewing them on a screen from 10–15 feet back, if details blur, the composition won’t hold up at scale.
Gallery Walls That Tell Your Story
Gallery walls scale up by covering 40–60 square feet with a curated mix of frames, objects, and artwork. The key difference from small gallery walls: larger anchor pieces (24×36 inches or bigger) ground the arrangement and prevent it from looking scattered.
Start by mapping the layout on the floor. Use kraft paper templates cut to frame size, taped to the wall with low-tack painter’s tape. Adjust spacing, 3–5 inches between frames works for most layouts, before committing to nail holes. Mark the top center of each template, then transfer those marks to the wall.
For weight distribution across multiple frames, use a French cleat system on heavier pieces (over 20 pounds). This two-part hanging method locks a wall-mounted cleat into a matching cleat on the frame’s back, distributing weight along a horizontal line rather than a single point. You can rip cleats from ¾-inch plywood with a table saw set to a 45-degree bevel, or buy aluminum versions pre-made.
Long wall decor ideas often benefit from horizontal gallery arrangements spanning 8–12 feet. Maintain a consistent top or bottom line across all frames to create order. Mix frame depths (floating frames, deep shadow boxes, flat canvases) to add dimension. Incorporating 3D art decor elements, like small shelves or sculptural objects, breaks up the flatness of framed prints.
Light the gallery wall with adjustable track lighting or picture lights. LED puck lights mounted above individual frames reduce glare on glass and highlight texture.
DIY Large Wall Decor Projects on a Budget
Building your own large-scale decor saves money and allows full customization. Here are three approachable projects.
Oversized Wood Panel Art
Materials: Three 1×8 common boards (8 feet long), wood glue, 1×2 furring strips for backing, latex paint or stain, sandpaper (120- and 220-grit).
- Cut boards to desired length (60–72 inches works well). Sand faces and edges smooth, progressing from 120- to 220-grit.
- Lay boards face-down. Glue and screw 1×2 furring strips across the back (perpendicular to boards) every 24 inches to hold the panel flat. Pre-drill screw holes to avoid splitting.
- Flip right-side up. Apply painter’s tape to create geometric patterns, stripes, or color blocks. Paint with semi-gloss latex paint for durability. Remove tape before paint fully dries to avoid peeling.
- Mount with two D-rings screwed into the furring strips and wire, or use a French cleat.
Total cost: $30–50 depending on lumber grade and paint.
Fabric-Covered Foam Panels
Materials: 2-inch rigid foam insulation board (4×8 feet, available at home centers), upholstery fabric (3 yards for a 4×4-foot panel), spray adhesive, utility knife, straight edge.
- Score foam with a utility knife guided by a straight edge, then snap along the line. Cut panels to size (48×48 inches is manageable).
- Lay fabric face-down. Center foam on top, then wrap fabric around edges like wrapping a gift. Secure with spray adhesive on the back.
- Mount with Velcro Command strips rated for the weight (foam panels are light, usually under 5 pounds) or construction adhesive applied in a grid pattern on the back.
Fabric panels add softness and absorb sound, useful in media rooms. Cost: $25–40 per 4×4-foot panel.
Stenciled Mural
For renters or commitment-phobes, a removable stenciled mural offers scale without permanence. Use large-format wall stencils (24×36 inches or bigger) and removable wall decals as an alternative. For those comfortable with painting tutorials, apply stencils with acrylic craft paint over a base coat of removable peel-and-stick wallpaper, which can be removed later without damage.
Apply stencils with a foam roller or stencil brush, using a light touch to prevent paint bleed. Work from top to bottom, repositioning the stencil as you go. Total time: 4–6 hours for a 6×8-foot mural. Cost: $40–70.
Mirrors and Reflective Pieces for Dimension
Large mirrors, particularly those 36 inches or wider, do double duty: they function as decor and bounce natural light deeper into the room. Leaning a floor mirror (6–7 feet tall) against a wall eliminates mounting concerns entirely, though you’ll want mirror bumpers or furniture straps anchored to studs to prevent tipping.
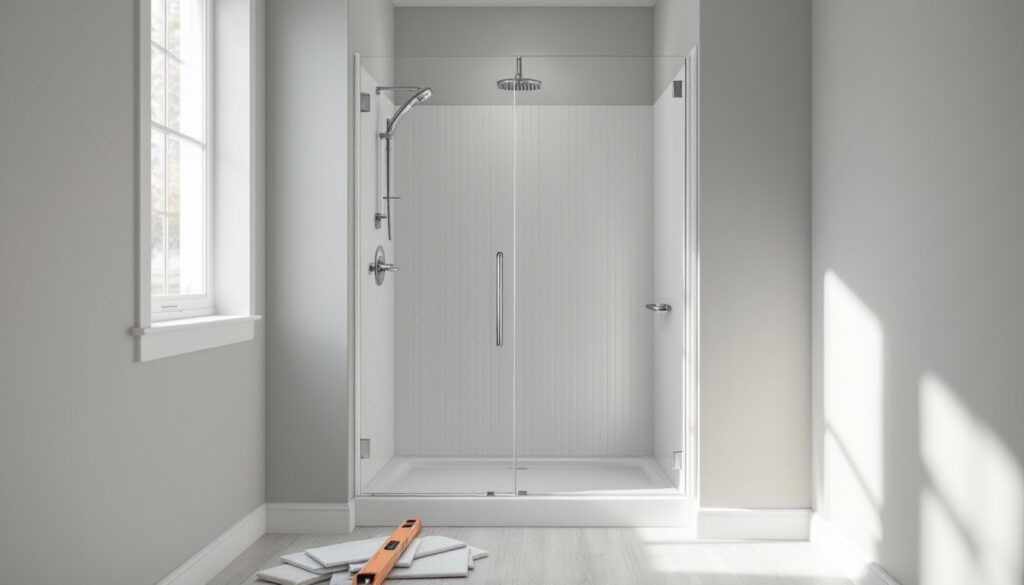
Wall-mounted mirrors over 30 pounds require serious hardware. Use mirror clips (two at the bottom, two at the top) screwed into studs, or a J-channel at the bottom with top clips for support. Never rely solely on adhesive for mirrors, glass is unforgiving if it falls.
For ideas for large wall decor with reflective elements beyond traditional mirrors, consider:
- Antiqued mirror tiles: 12×12-inch tiles arranged in a grid pattern create a vintage, textured look. Mount individual tiles with mirror adhesive and support with small L-brackets on the bottom edge until adhesive cures (24–48 hours).
- Polished metal panels: Brushed aluminum or copper sheets (available at metal suppliers) catch light without the fragility of glass. Cut with tin snips or have the supplier cut to size. Mount with construction adhesive or small screws with finishing washers.
- Beveled mirror frames: Layering mirrors of different shapes (round over rectangular, hexagons in clusters) adds architectural interest.
Position mirrors opposite windows to maximize light reflection, but avoid placing them where they’ll reflect glare from lamps or overhead fixtures. And don’t mount mirrors where they reflect clutter, they’ll amplify visual noise instead of enhancing space.
Three-Dimensional and Textured Wall Decor
Flat art has its place, but large living room wall decor ideas gain impact with depth. Three-dimensional elements cast shadows, shift with changing light, and create focal points that photographs can’t match.
Wood Wall Treatments
Reclaimed wood planks, shiplap, or board-and-batten installations add warmth and texture. For a 10×8-foot accent wall using 1×6 pine boards:
- Materials: Approximately 140 linear feet of 1×6 boards, construction adhesive, 18-gauge brad nails, level, miter saw.
- Cost: $180–250 depending on lumber grade.
- Installation: Locate studs and mark them. Apply adhesive to board backs in a zigzag pattern, press into place, then secure with brad nails into studs every 16 inches. Cut boards to length with a miter saw. Seal or stain before or after installation (before is easier but requires touch-up after nailing).
Board-and-batten creates vertical lines that lift ceilings visually. Install 1×4 or 1×6 boards vertically over a flat wall, spacing them 12–16 inches apart, then cap with horizontal top and bottom trim.
Metal Wall Sculptures
Oversized metal art ranges from industrial gears to abstract shapes. Pieces over 24 inches across usually ship with integrated mounting brackets. Always anchor into studs, metal is heavier than it looks, and drywall alone won’t hold it. Use lag bolts (¼×3 inches) into studs for sculptures over 30 pounds.
Woven and Fiber Art
Macramé wall hangings, woven tapestries, and fiber art soften hard surfaces and add warmth. Large pieces (4–6 feet wide) often hang from a wooden dowel or copper pipe suspended by leather straps or rope. Mount the dowel to the wall with L-brackets or let it hang freely from ceiling hooks if weight permits.
For room transformations that leverage texture, mix materials, combine a wood panel wall with a metal sculpture and a woven hanging to create layers of visual interest without overwhelming the space.
Conclusion
Large wall decor isn’t about filling space, it’s about creating balance, adding dimension, and making a room feel intentional. Whether you’re hanging a single oversized canvas, building a gallery wall across 10 feet, or installing a textured wood accent wall, the principles stay the same: plan the layout first, use hardware rated for the weight, and anchor into studs whenever possible. Start with one high-impact piece and build from there. Your walls, and the room’s proportions, will thank you.