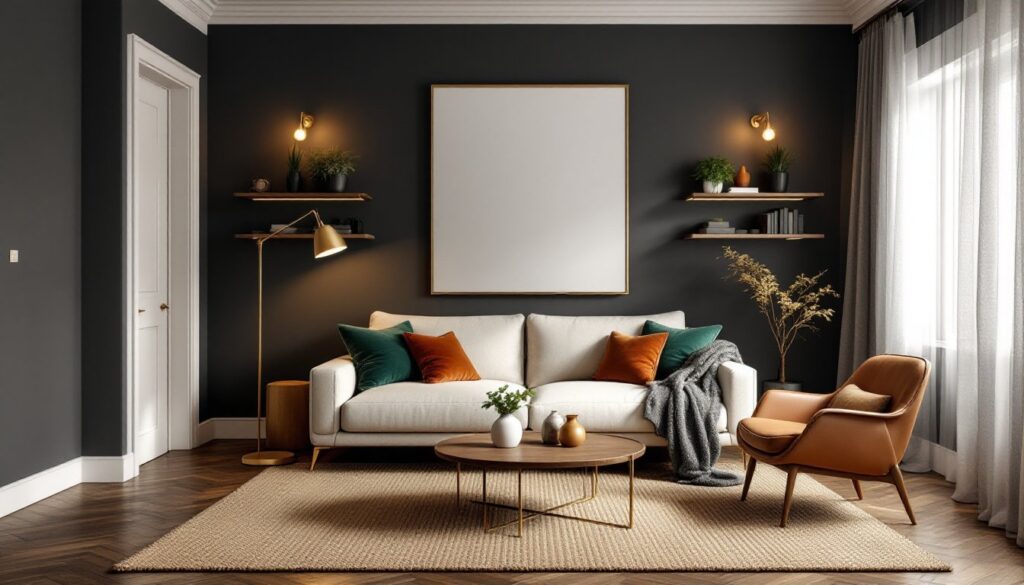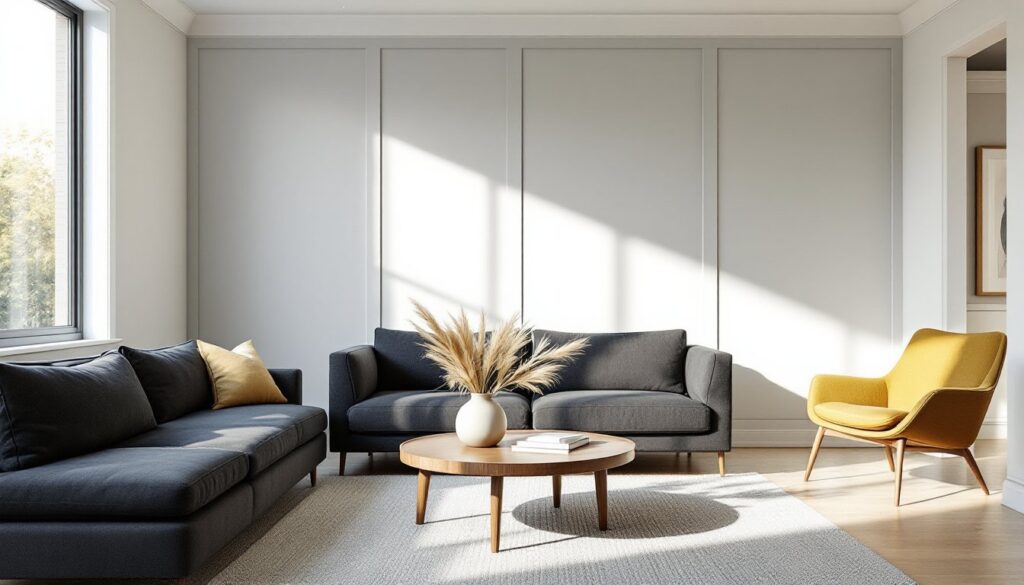

Wall paneling has moved far beyond the wood-grain basement rec rooms of the 1970s. Today’s paneling options offer texture, depth, and architectural interest that flat drywall simply can’t match. Whether someone’s aiming for farmhouse charm, modern minimalism, or classic elegance, the right paneling treatment can completely transform a living room’s look, often for less than a full renovation. Better yet, many paneling styles are well within reach for confident DIYers with basic carpentry skills. From tongue-and-groove boards to 3D geometric tiles, wall paneling delivers visual impact while hiding imperfect drywall, concealing wiring runs, or adding insulation value in older homes.
Table of Contents
ToggleKey Takeaways
- Wall paneling ideas for living rooms have evolved beyond outdated styles, offering modern textures and designs like shiplap, board and batten, and 3D geometric panels that transform flat drywall while hiding imperfections.
- Shiplap paneling provides a timeless, farmhouse-inspired look with clean lines and forgiving installation—affordable pine or poplar boards can be installed in a weekend using basic tools like a miter saw and brad nailer.
- Vertical board and batten paneling creates dramatic height and architectural interest, making spaces feel taller while working beautifully in Craftsman, modern farmhouse, or Scandinavian-inspired living room designs.
- Wainscoting and half-wall paneling offer traditional charm while protecting lower walls from damage, with options ranging from labor-intensive raised panel styles to simple flat panel or beadboard designs suitable for DIYers.
- Contemporary wall paneling through 3D textured panels delivers sculptural impact with minimal carpentry, available in materials like MDF, PVC, and plant fiber with geometric or organic patterns that cast dynamic shadows.
- A complete paneled accent wall for a 12′ x 10′ space costs $150 to $400 and takes one weekend to install when using budget-friendly materials, smart planning, and essential tools like a miter saw and stud finder.
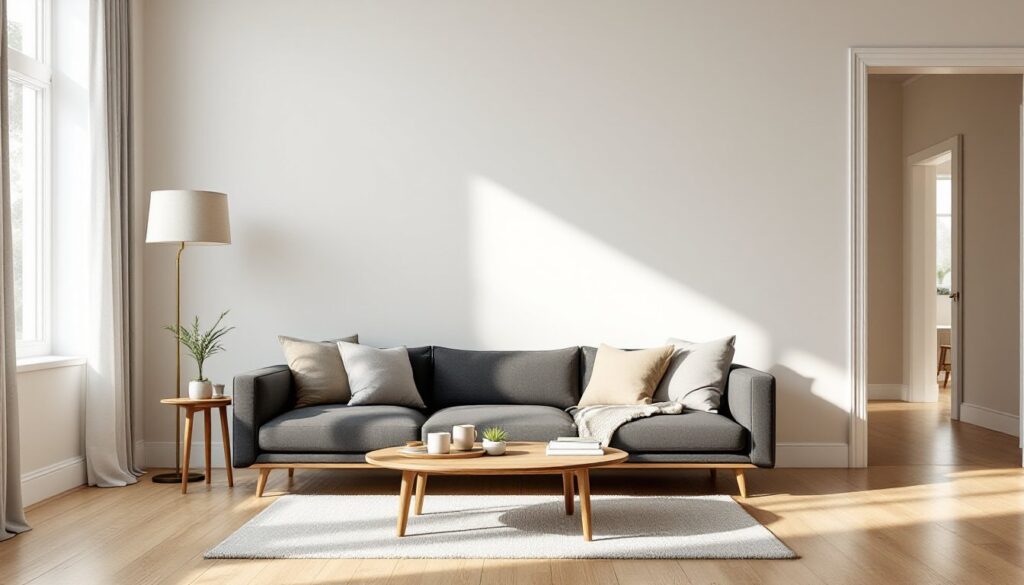
Why Wall Paneling Is Perfect for Modern Living Rooms
Modern wall panelling brings several practical advantages beyond aesthetics. Paneling adds a layer of protection to drywall in high-traffic areas, resists dents better than paint alone, and provides a forgiving surface if walls have minor cracks or texture issues. In homes built before 1980, paneling can hide outdated popcorn texture or uneven plaster without the mess of a full skim coat.
From a design perspective, paneling creates visual zones within open-concept spaces. A floor-to-ceiling treatment behind a sofa or media console anchors furniture arrangements and draws the eye upward, making standard eight-foot ceilings feel taller. Horizontal lines (like shiplap) widen narrow rooms, while vertical installations (board and batten) add height.
Installation difficulty varies widely. Simple plank systems with interlocking edges can go up in a weekend with a miter saw and brad nailer. More complex geometric patterns or custom millwork may require a table saw, dado stack, and experience with precise joinery. Most paneling installs over existing drywall using construction adhesive and finish nails, so it’s a non-structural cosmetic upgrade, no permits required in most jurisdictions. Always check local building codes if running new electrical behind panels or removing existing walls.
Classic Shiplap Paneling for a Timeless Look
Shiplap remains one of the most popular wall panel ideas for living room projects, thanks to its clean lines and forgiving installation process. True shiplap features a rabbet (recessed groove) cut along the top and bottom edges, allowing boards to overlap slightly and create a subtle shadow line. The result is a tight, weather-resistant joint, originally designed for barn siding, that translates beautifully to interior accent walls.
Material options include:
- Pine or poplar boards (1×6 or 1×8 nominal, actual 3/4″ x 5.5″ or 7.25″): Affordable, widely available, paintable. Expect some knots and grain variation.
- Primed MDF or HDF panels: Budget-friendly, perfectly smooth, no knots. Heavier than solid wood and less forgiving if it gets wet.
- Nickel-gap shiplap kits: Pre-milled boards with a consistent 1/8″ reveal between planks. Faster install but typically pricier.
Installation steps:
- Locate studs and mark them with painter’s tape. Shiplap should hit a stud every 16″ for secure nailing.
- Start at the bottom with the groove edge down (or remove the groove on the first board for a clean floor transition).
- Apply construction adhesive to the back in a zigzag pattern, then press the board into place.
- Nail through the face or tongue with 18-gauge brad nails (1.5″ length). Face-nailing is faster: concealed nailing through the tongue looks cleaner but requires more precision.
- Check level every three to four boards. Even small errors compound quickly over an eight-foot wall.
- Scribe the top board to fit irregular ceiling lines. A coping saw handles small adjustments.
Paint or stain after installation. Two coats of semi-gloss or satin paint hold up better in living spaces than flat finishes. White shiplap is classic, but charcoal, sage, or natural wood tones work beautifully in contemporary settings. Experts at HGTV frequently showcase shiplap accent walls in farmhouse and coastal-style living rooms.
Vertical Board and Batten for Dramatic Height
Board and batten flips the script with vertical boards (battens) spaced evenly over a flat backing. This treatment originated in Scandinavian and American colonial architecture as a way to seal gaps in wide plank siding. Indoors, it adds vertical emphasis that makes rooms feel taller, especially effective in spaces with low ceilings or squat proportions.
A typical board and batten wall uses 1×2 or 1×3 battens (actual 3/4″ x 1.5″ or 2.5″) spaced 12″ to 18″ on center over a continuous backing of 1/4″ plywood, MDF, or even directly on drywall. Wider spacing (16″ to 24″) creates a more modern, airy look: tighter spacing (8″ to 12″) reads traditional.
Tool requirements:
- Miter saw or circular saw for crosscuts
- Table saw (optional) if ripping custom batten widths from wider stock
- Brad nailer (18-gauge) and compressor, or a finish hammer and nail set for hand-nailing
- Level and chalk line for layout
Layout tips:
- Measure wall width and divide by desired spacing to find the number of battens. Adjust spacing slightly so battens land symmetrically, avoid a narrow sliver at one end.
- Snap vertical chalk lines at each batten location. Double-check plumb with a 4-foot level.
- Install backing boards first (if using) with construction adhesive and nails into studs every 16″.
- Cut all battens to length at once, measuring floor-to-ceiling at multiple points if the floor or ceiling isn’t level.
- Nail battens over the chalk lines, sinking nails slightly below the surface. Fill holes with wood filler before painting.
Board and batten works well behind built-in shelving, TV alcoves, or as a full-wall treatment in Craftsman, modern farmhouse, or Scandinavian-inspired living rooms. Painting the backing and battens the same color creates a unified, subtle texture. Contrasting colors, dark battens on a light backing, make the pattern pop.
Wainscoting and Half-Wall Paneling Styles
Wainscoting covers the lower third to half of a wall, typically 32″ to 42″ high, with a cap rail at the top. It protects walls from chair backs, scuffs, and pet damage while adding traditional charm. Common wainscoting styles include raised panel, flat panel (Shaker style), and beadboard.
Raised panel wainscoting uses a routed frame-and-panel construction. Each panel sits in a groove (dado) cut into vertical stiles and horizontal rails. This is the most labor-intensive option, often requiring a router table, stacked dado blade, and solid joinery skills. Pre-made kits are available but can be pricey.
Flat panel (Shaker) wainscoting simplifies the process. It uses flat MDF or plywood panels bordered by 1×3 or 1×4 trim pieces applied directly to the wall surface. The look is clean and fits both traditional and transitional interiors. Many DIYers find inspiration for this style on Homify, which features photo galleries of wainscoting applications across different home styles.
Beadboard wainscoting features narrow vertical planks (typically 2″ to 3″ wide) with a small rounded bead along one or both edges. It’s available as individual tongue-and-groove boards or 4×8 sheets with the beadboard pattern milled in. Sheet stock installs faster but looks less authentic up close.
Installation considerations:
- Cap rail: A 1×4 or decorative chair rail caps the top edge. Miter inside and outside corners at 45°.
- Baseboard integration: Remove existing baseboard, install wainscoting, then reinstall baseboard over the bottom edge. Or run wainscoting to the floor and add a thicker baseboard on top.
- Electrical outlets: If outlets fall within the wainscoting zone, use box extenders to bring them flush with the new surface. This usually doesn’t require a permit but should meet NEC standards (National Electrical Code).
Wainscoting pairs well with wallpaper or a bold paint color above the rail, creating a two-tone effect that adds depth without overwhelming the space.
3D Textured Panels for Contemporary Spaces
Three-dimensional wall panels deliver sculptural impact with minimal carpentry. These panels, made from MDF, PVC, gypsum, or plant fiber, feature geometric patterns, waves, or organic textures that cast shadows and change appearance with lighting. They’re a go-to choice for living room modern wall panelling in minimalist, industrial, or high-end contemporary interiors.
Material types:
- MDF 3D panels: Paintable, affordable, medium weight. Require primer and at least two coats of paint to seal and finish.
- PVC or polymer panels: Lightweight, moisture-resistant, often textured to mimic wood grain or stone. Some are paintable: others come pre-finished.
- Gypsum or plant fiber: Eco-friendly options with excellent texture detail. More fragile and harder to cut than MDF.
Common patterns:
- Geometric (hexagons, diamonds, squares): Bold, modern, works well as a feature wall behind a sofa or media unit.
- Wave or ripple: Softer, organic feel. Popular in mid-century modern or Scandinavian-inspired spaces.
- Brick or stone texture: Adds industrial edge without the weight or cost of real masonry.
Installation is straightforward. Most 3D panels measure 2′ x 2′ or roughly 20″ x 20″ and attach with panel adhesive (like Liquid Nails for Projects or PL Premium) and occasional finish nails for support during curing. A fine-tooth handsaw or jigsaw handles cuts: a miter saw can chip delicate edges.
Installation steps:
- Prep the wall: Fill holes, sand rough spots, and wipe clean. Panels adhere best to smooth, dry surfaces.
- Plan the layout: Dry-fit panels on the floor to visualize the pattern and minimize cuts.
- Apply adhesive in a grid or zigzag on the back of each panel.
- Press firmly and hold for 30 seconds. Add a few brad nails at edges if panels are heavy.
- Fill seams with lightweight spackle or caulk (if painting). Some installers leave small reveals for a panelized look.
- Prime and paint MDF panels with a high-hide primer and two coats of paint. Satin or eggshell finishes highlight texture better than flat.
Design inspiration for 3D panels often comes from modern interior showcases like those featured on Decoist, where textured walls anchor sleek furniture and neutral palettes.
Budget-Friendly DIY Paneling Installation Tips
Quality paneling doesn’t require a contractor’s budget. With smart material choices and careful planning, a DIYer can panel a 12′ x 10′ accent wall for $150 to $400, depending on materials.
Cost-saving strategies:
- Use common lumber dimensions: 1x4s, 1x6s, and 1x8s are cheaper and more available than specialty millwork. Rip wider boards to custom widths if needed.
- Choose paint-grade materials: Pine, poplar, or MDF cost significantly less than hardwoods like oak or walnut. A good primer and paint job makes budget materials look high-end.
- Buy in bulk: Purchasing a full unit of lumber (often 100+ board feet) from a lumberyard beats big-box per-piece pricing.
- Skip the backing layer: On smooth drywall, install battens or planks directly to studs with adhesive and nails, eliminating the cost of plywood or MDF underlayment.
Essential tools (many DIYers already own these):
- Miter saw or circular saw with a speed square: A miter saw gives cleaner cuts on trim, but a circular saw works if cuts are sanded.
- Brad nailer and compressor: Rental costs about $30/day at most home centers. Hand-nailing is possible but slower.
- Stud finder, level, tape measure, pencil: Non-negotiable for accurate layout.
- Caulk gun, wood filler, putty knife: For filling nail holes and seams before painting.
Pro tips for beginners:
- Acclimate materials: Let wood or MDF sit in the room for 48 hours before install. This minimizes expansion or contraction after installation.
- Test finishes: Paint or stain a scrap piece to confirm color and sheen before committing to the whole wall.
- Work from a cut list: Measure twice, cut once. Write down all lengths before making the first cut to reduce waste.
- Use a sacrificial backer: When nailing near board ends, place a scrap block behind the nail point to prevent splitting.
- Safety first: Wear safety glasses when cutting, hearing protection with power saws, and a dust mask when sanding MDF (the fine dust is particularly irritating).
Finish options:
- Paint: Two coats of quality interior paint (coverage ~400 sq ft per gallon) in satin or semi-gloss. Sherwin-Williams ProClassic or Benjamin Moore Advance are durable choices for trim and paneling.
- Stain and poly: For raw wood, apply pre-stain conditioner (especially on pine) to prevent blotching, then oil-based or gel stain, followed by two coats of water-based polyurethane.
- Whitewash or limewash: Diluted paint or specialty limewash gives a soft, aged look popular in coastal and Scandinavian interiors.
A paneled accent wall typically takes a full weekend: one day for layout, cutting, and installation: another for filling, sanding, and finishing.
Conclusion
Wall paneling offers a high-impact upgrade that’s accessible to DIYers willing to measure carefully and work methodically. Whether someone chooses the rustic warmth of shiplap, the vertical drama of board and batten, the classic elegance of wainscoting, or the modern edge of 3D textures, paneling adds dimension and character that paint alone can’t match. With the right materials, a few essential tools, and attention to prep work, a living room transformation is well within reach, no contractor required.